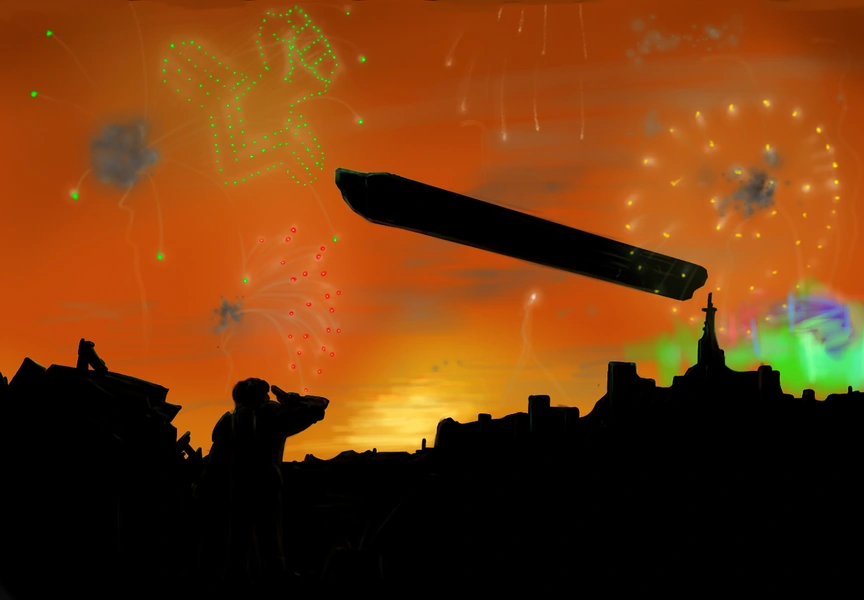
The Sword lifting of from Hephaestus.
Here you can find out information about the ship as well as the various services provided by the different npc's.
All new recruits pop out of a stasis pod in their personal room, naked and covered in goo. There's grayish clothes folded on bed waiting for you. You also automagically gain five tokens and a wristpad computer.
Layout of original Sword can be found here: Old Paracelsus' Sword.
Personal room[]
This room is about 12 feet (or 4 meters) on all sides, a nice spacious cube of metal. There's a bed with a simple metal frame and grayish sheets, blankets and pillows, as well as a suit of grayish clothing folded upon said bed waiting for you.
There is also a metal desk shoved up against one wall, with a footlocker under it. This footlocker now contains all your stuff from your locker. There's a protruding metal box in one corner of the room which contains a toilet, sink and shower, all of them simple but functional.
The only other things in the room are a light fixture, a little glowing cube hanging from the ceiling, and a door with a keypad next to it. This keypad contains the numbers 0-9 and buttons labeled "VISIT", "LOCK", "EXIT" and "LIGHTS".
The room won't let you leave until you set a room number and password.

The room number is how the room is designated, an address of sort. The password is, well, a password. In order to get back into your room you'll need to enter them both into the housing system.
"LIGHTS" will, unsuprisingly, toggle the lights on and off.
"VISIT" combined with the room number of another person will link your rooms together. Assuming one of them isn't locked.
"LOCK" will prevent others entering into your room. Meaning that if the room is unlocked, anyone can enter merely by entering the room number.
"EXIT" allows you to leave the room and/or unlink connected rooms.
Rec Room[]
The Rec Room is a large but densely packed room filled with a variety of time wasting devices: A dart board, a pool table, a boxing ring, a bank of VR machines, a TV area with several oversized sofas and a large flat screen TV mounted on the wall, a stocked kitchen area and a collection of gym equpiment.
R&D[]
This "area" is off limits. Instead, you can talk to a man behind a kiosk in the hallway. He represents the collective nerd populace of the Paracelsus' sword, and may be willing to trade knowledge or software for tokens.
Briefing room[]
This room is a large, amphitheater-like room. It consists of many chairs surrounding a holo-projector, and little else. Steve briefs you on your missions here.
One wall is dominated by a massive screen showing a view of outside the ship.
Panic room[]
The panic room is basically a large square room secured with vault like doors and filled with medical equipment, food, and various things to allow you to survive in there for extended periods. It's a vault to allow peopleto survive if things go badly. There's those protective anti-magic rods that R&D has too.
Theater[]
The theater is advertised with a blinking, lighted sign and bears the name "DMR MEMORIAL THEATER". The inside lacks a traditional lobby and instead consists of a long, wide hallway with doors off on either side, each one labeled with a numerical sign. There's what looks like a concession stand/ticketing counter about halfway down the hallway, which is being manned by a young woman with red hair. She controls projectors and hands out snacks.
You can watch movies, past and current missions here.
Bar[]
A purple neon sign hangs outside the door.
IMPENDING DOOM
The inside of the bar is dark, with dull amber bulbs hanging over a slate black bar. There are few clusters of overstuffed red armchairs scattered around the room, mostly in the corners, each with a metal table and bare bulb lamp sitting amongst them. The bartender, back lit by a dully glowing wall of bottles, is a thin and pale specimen, his eyes so deeply sunken into his skull that they appear to be nothing but black sockets in the dull light. He's wearing a black, long sleeved uniform and carefully cleaning a glass. Quiet music is playing.
The bartender keeps a shotgun behind the counter.
Here's an official drink list, but you can practically order anything. Drinks are free.
- Timmy Tears
- Solar Shine
- The Xan
- Grate Gold
- Doctor's Order
- Stacy Stew
- Faith's Globes
- Hotdrop
- Ice-9
- Hephaestus Hammer
- Sod Swill
- Steve's Surprise
- Synthblood
- Overload
- Stasis Pod
The back room of Bar is home of Nyars and where he's selling his wares. You need to knock twice to get in.
Mess hall[]
The mess hall is much the same as before, same hall of metal tables bolted to the ground. But the food dispensers appear to have been replaced with what appears to be a diner counter with a kitchen in back. There's an overweight guy in a white uniform standing around at the counter, and a few guys in the kitchen, idly messing with cooking implements or sitting around and smoking.
Memorial[]
There are three parts to the memorial, The wall of remembrance where our honored dead are listed, the vault of shame where the dishonored dead are listed, and the Shrine, with the bodies and Relics of the Saints.
Pantheon[]
Front entrance goes to hallway and side goes to Memorial.
Pathmas is represented on the ceiling, to display the position as an over-god. A mural with his image as center, with written prayer surrounding him. The prayers are vague, as is the tradition. On the floor undeneath it rests a small statue of a comb made out of scrap metal.
The first statue from the main door is Algis. He is standing with many of his hands shielding a tiny ARM soldier. There is room under the hands for someone to crawl in and hide.
Next is Cog-azaon, surrounded by plaques detailing the knowledge found by the Sword.
Third is Kal-Rath, taller than the other statues. Around her head is a glow, and fresh human blood appears to be splattered up her arms. Around her are corprses; one it looks like just got its back snapped over her knee.
The last statue is of Fal; a statue that is constantly in motion, providing the illusion that it is a statue constructing itself. Screens are below it displaying constantly changing scientific formulae.
Wall with side entrance is dedicated to the gods of the Medic Pantheon. Each god is given a painting and a place to pay tribute. Emar-i stands by the door to the Memorial, to ward off his patients from death.
Somewhere on the Medic wall is this plaque:
- "Because of the nature of the Medic's pantheon, some in combat positions co-opt the symbols and names of the various gods for offensive purposes. For instance, Placing Sim-de's symbol on tanks of poison to make it more effective or Sulf'ada-zon's symbol on napalm bombs to ensure wide spread burning.
- While such action have proven erratic in their effectiveness, when they do seem to work, the effects are devastating, both to the target and often to the soldier. It is recommended that the worshiper not use the gods outside of their prescribed roles, as the consequences may be dire."
Opposite wall is the Soldier's Pantheon. The Soldier Gods are represented in a giant mural, with each taking their appropriate part in a giant battle against faceless foes. Ahnubi, God of Death, is facing the door to the Memorial, ever watching it.
The Engineer's Pantheon covers the back and front walls, with paintings and constructed figures. In the center of the back wall is the image of Hal-Mon, who- despite being a machine- appears to be observing the statue of Fal to ensure it is in good working order.
Behind the back wall is a small room. Here are altars and benches for prayer, with all the necessary essentials for ceremonies. There is a small table with a bowl and paper. Prayers can be written on the paper, then thrown into the bowl. The bowl contains a flame which burns the prayer to send it on its way. Also in this room are displays, containing the Bust of Saint Milno, Sir Milno the Snark, and the Arm of Steve.
Behind this is a very small alcove, containing tiny memorials to the gods of which little is known. Jiffty Rube is stuck back here as well.
Finally, above the front door, set back a bit, is a statue of the synthflesh avatar of Steve. He is watching over all who come in, but in a way that you do not see him at first. On his face is a slight smirk.
The statue can be slid back into an alcove so that the real Steve Avatar can hide there if he so pleases and impersonate the statue.
Infirmary[]
This is where you will spend the majority of your time.
The infirmary is massive, full of many mazelike hallways, rooms, and nurses. Some say that it seems to defy the constraints of the space it's in, and knowing it's proprietor they just might be right. You'll be transported here after a mission, unless you managed to not get injured. They can treat an amazing range of injuries, ranging from papercuts to outright death, as long as your brain remains intact.
Workshop[]
There are plenty of tools there, and a few materials, though mostly just those related to using the workshop (Liner for the welding torch, duct tape for the everything).
There are no vehicle lifts, but there are all purpose movable hydraulic manipulation arms, basically big, powerful robot arms on movable bases that can be used to lift or manipulate heavy things.[1]
Test chamber[]
The test chamber is a large empty room with target drones, a giant blast door at one end to vent the entire room, and a panel of various emergency buttons.
Armory[]
The armory's minimalist kiosk has been expanded into a larger room. The old kiosk is still there, but instead of a simple window and counter, it is now flanked by large displays which hold examples of the weapons in stock.
In the back of the room is what appears to be a very oversized vending machine, which has buttons for every weapon listed in the armory. Looks like self service is on the menu, at least for standard gear.
Hangar[]
This spacious area contains contains various small dropships used by the ARM. Usually it's also home of General Miyamoto.
This is where all the player owned vehicles are kept.
Vents[]
Small cramped tunnels above the ceiling and behind the walls of the ship. Makes a good hiding spot. Victor and Piecewise the Basilisk live here, along with Jack Hansan's skin and probably many other creepy forgotten things.
Hallways[]
The hallways connecting the various rooms. They are large enough to drive a vehicle through them.[2] There are labelled coloured lines that can be followed to navigate to other rooms.